How to speed up websites with Azure Content Delivery Network

Here at Jungle Element, Treatsure, Corsiva Lab, as well as this site, leverages on Azure Content Delivery Network (CDN) to accelerate delivery of content. These sites are powered by Windows Azure App Service and Azure CDN.
What is Content Delivery Network?
Content Delivery Network caches static web content at strategically placed locations to provide maximum throughput for delivering content to users, hence, the ability to accelerate delivery of content. Furthermore, it offers a global solution for delivering high-bandwidth content by caching the content at physical nodes, also known as Edge Servers around the world.
Azure CDN itself has a robust security that is backed by massive storage and compute capacity with many edge servers globally. The CDN is able to handle sudden traffic spikes and heave loads. Azure CDN helps you to stay up and running by identifying, absorbing, and blocking security threats to absorb distributed denial-of-service (DDoS) attacks. Besides that, Azure CDN includes the highest certification by the FedRAMP Joint Authorization Board (JAB).
Why should I use a CDN?
Firstly, your site gets better performance and user experience for end users. CDN reduces multiple round-trips required to load content. CDN will be able to distribute user requests and serve content from edge servers, hence, minimizing traffic being sent to the origin server. Lastly, with CDN’s global distribution, end users globally will be able to receive the cached static web content much quicker from the nearest edge servers located near them.
How it works?
I will walkthrough the steps I took to setup CDN for the various company websites including my own web, and how easy it is to configure them.
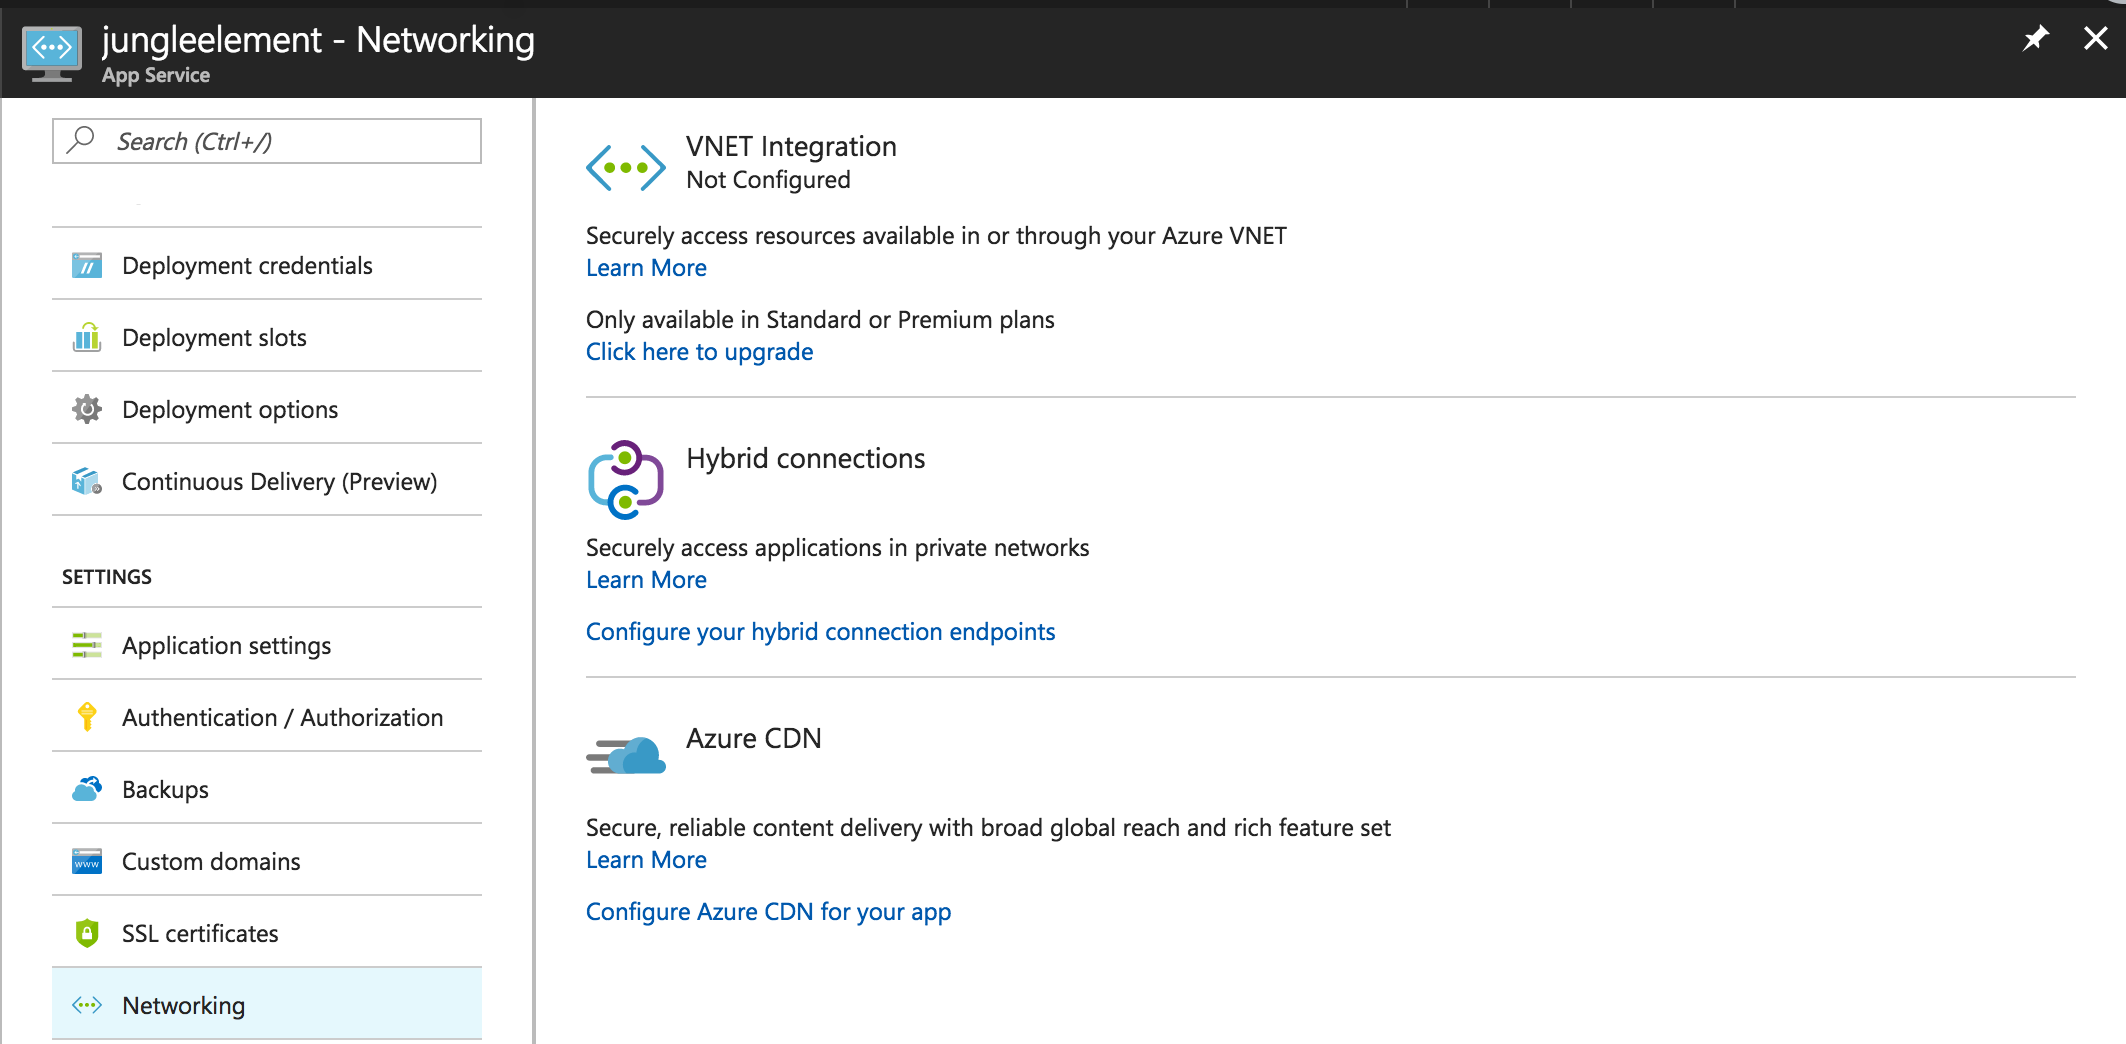
Head over to Windows Azure and login with your credentials. If you had followed my earlier article on Hosting Websites with Windows Azure App Service and Continuous Deployment, you should already have your website running on Azure App Service. Proceed to your App Service page, navigate to “Networking”, you should see the following screen.

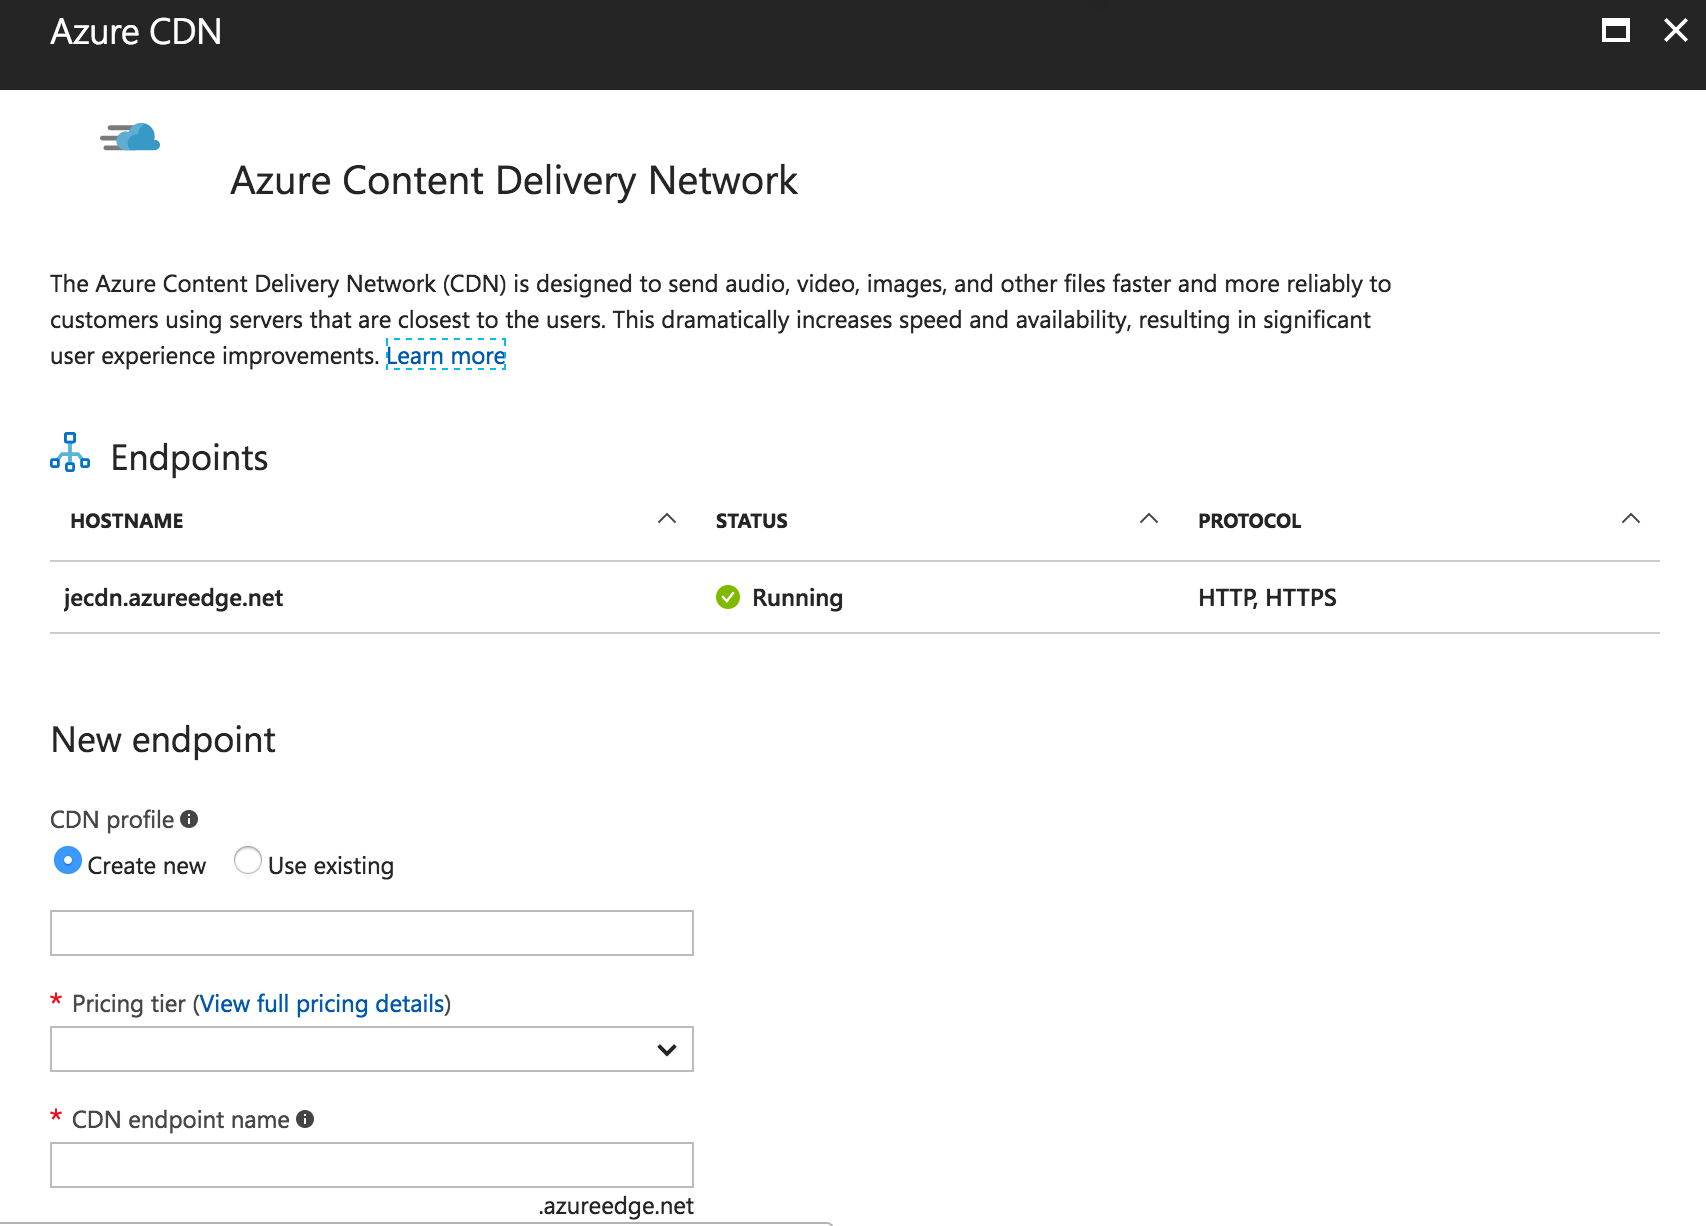
You will be presented with Azure Content Delivery Network page where you can create a new CDN Endpoint.
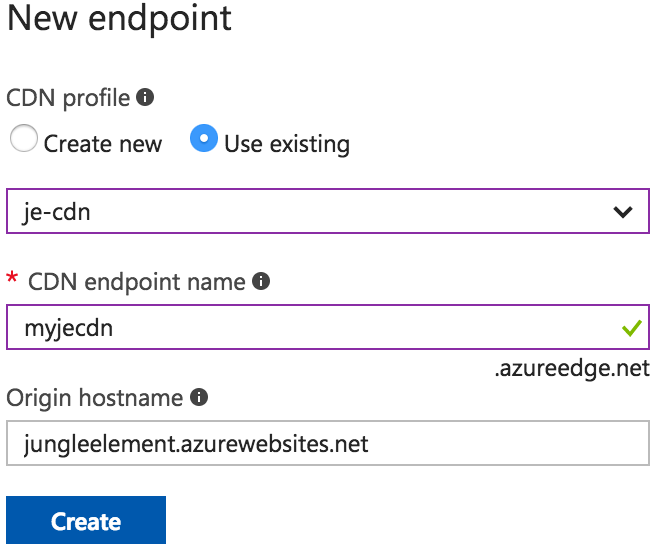
In my example, I’ll use an existing CDN profile.
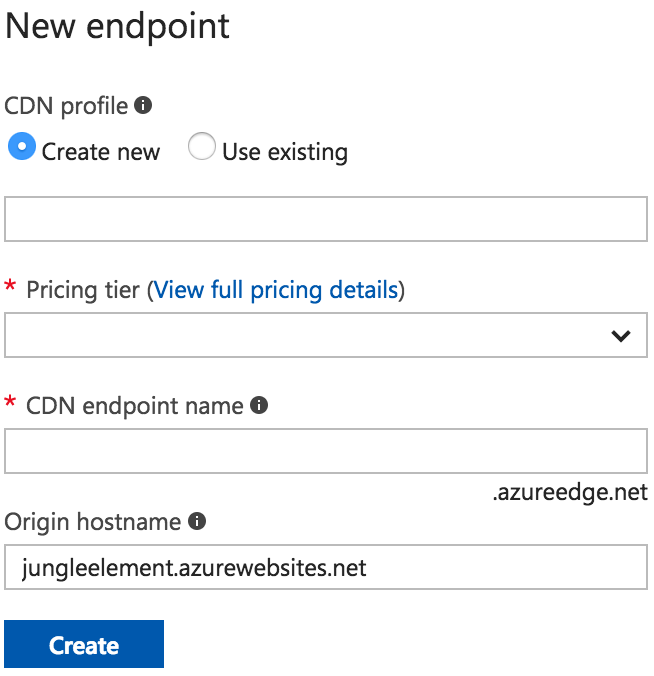
Or, you could also create a new CDN profile with its own Endpoint which points it to the Origin hostname.
When your CDN is deployed, you will see your CDN under “Endpoints”. Here you get to manage your CDN Endpoints.

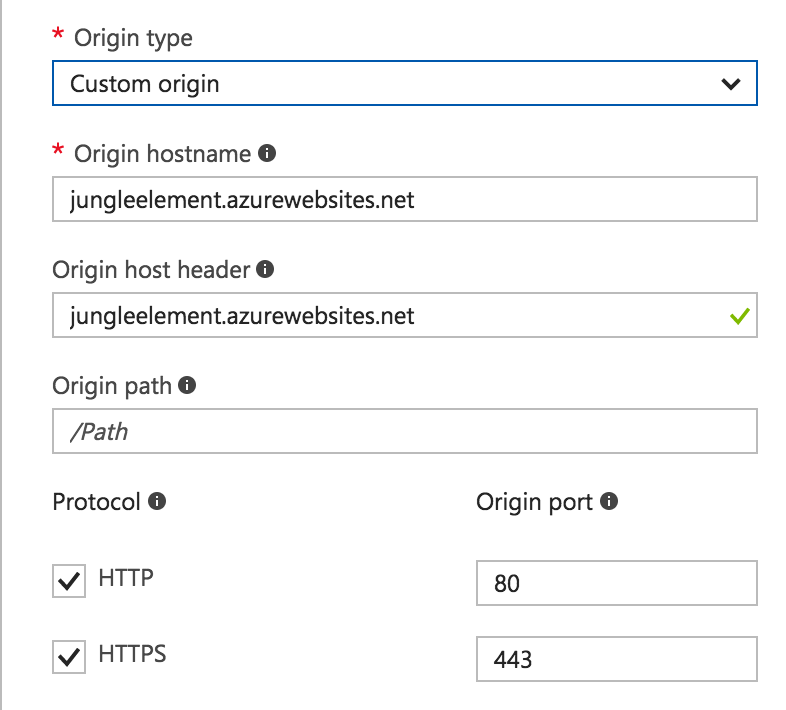
Click on your CDN Endpoint, you can verify your Origin. The Origin shows where your CDN Endpoint is referencing the website from, primarily from your web applications.
You can also add your own custom domains and set HTTPS on your CDN endpoints. SSL DigiCert will be provided by Verizon Digital Media Services, free for one custom domain.

Azure CDN serves much more than just websites, you can even use the CDN to serve static content from your application!
Cheers!